
Grow Bucephalandra Emersed Without Algae or Rhizome Rot
Learn to grow Bucephalandra emersed with an exposed rhizome, airy moisture, gentle ventilation, and practical algae and rot checks.
Priya Patel · Published 2026-09-03 · 6 min read
Key Takeaways
- Keep the creeping rhizome visible while roots contact moist, open support.
- Inspect the water line after refilling. A dry lid does not prove that the root zone drains.
- Compare algae on two marked wall areas before reducing light over the plant.
- Remove decay promptly, but do not squeeze or repeatedly cut a healthy rhizome.
Emersed Bucephalandra needs a dependable moisture supply without a buried rhizome. A useful setup makes three things visible at once. The roots touch damp support, the creeping stem sits above it, and excess water has somewhere to go.
Algae on the container wall and a collapsing rhizome need different responses. First check the plant and drainage. Then change the light or nutrient conditions that favor the film.
Keep the roots moist and the rhizome exposed
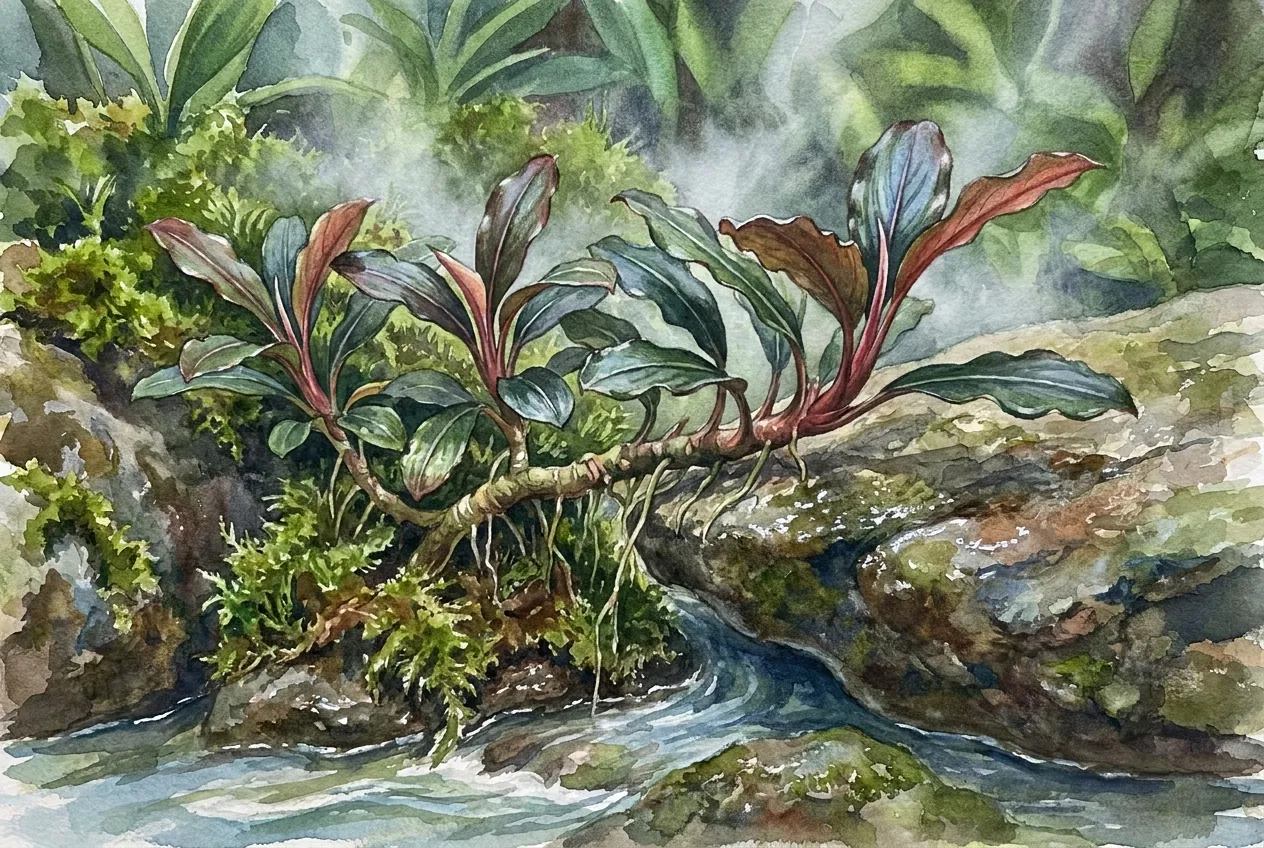
Bucephalandra belongs to a group of stream-associated aroids often grown attached to rock. Its horizontal stem is the rhizome, where new leaves and roots develop. Tropica warns against covering that stem when planting its Needle Leaf form.
Set the roots against damp rock, mesh-supported mineral media, or another stable support. Secure the support rather than tightening a tie around the growing stem. Brush away media that washes over the rhizome during watering.
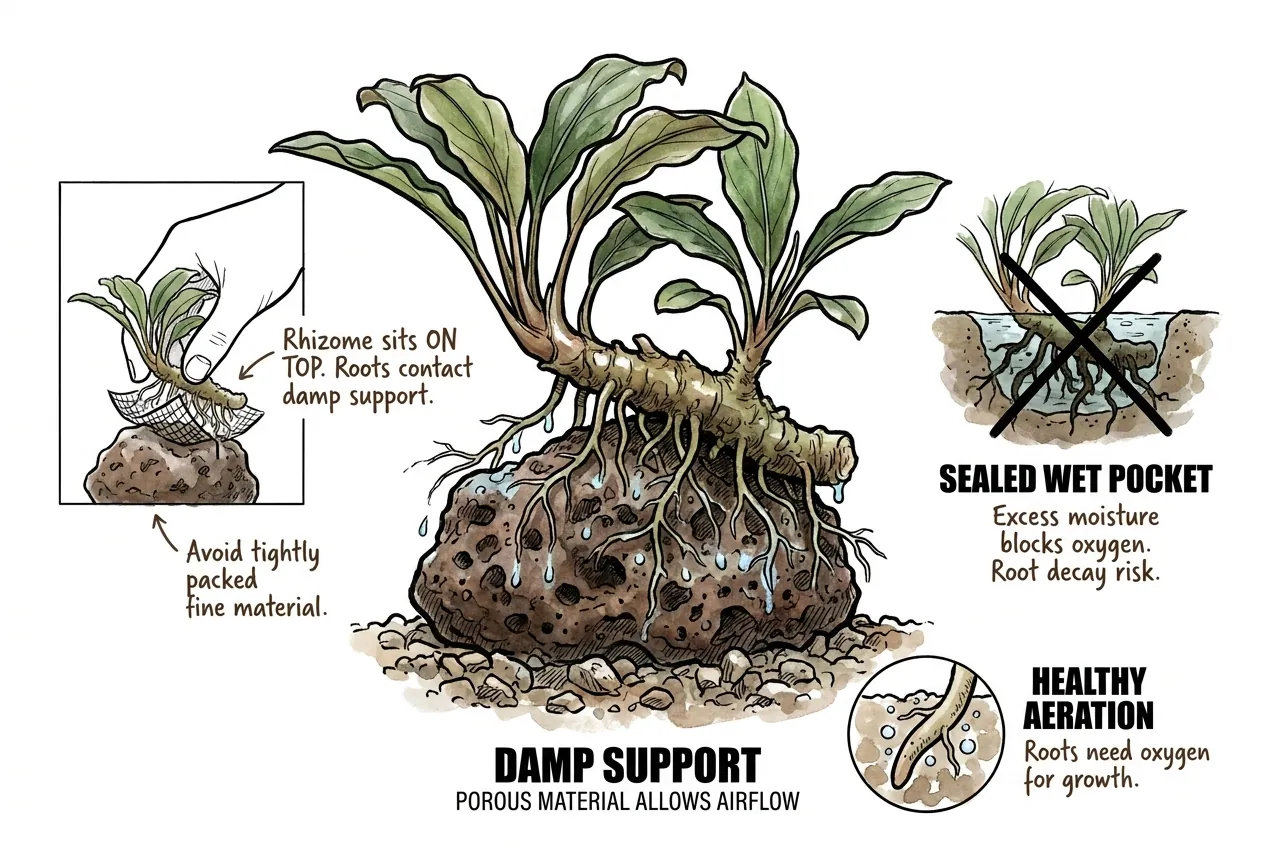
Exposed does not mean dried out. The rhizome can be humid or briefly wet while remaining uncovered and easy to inspect.
Drying the whole root system to keep the stem visibly dry creates a different problem.
Choose support by its water path
A Sibbaldia cultivation report describes successful wet culture of difficult Malesian forest plants in inorganic media, including pots standing in water.
That is evidence for the importance of media structure, not a universal reservoir depth for every Bucephalandra.
Fine mineral particles can compact too. A coarse-looking surface can also conceal a flooded pocket beneath it. Check the contact point under the roots instead of judging the whole setup by the material name.
Quick check after refilling
After a refill, I shine a small light sideways across the support beneath the rhizome. A reflective pool with a visible water edge is different from dark, damp media. I remove any pool touching the stem immediately with a pipette or by draining the container, then check again after 30 minutes without lifting the plant.
If the pool returns, I lower the reservoir or clear the drainage route. Once it stops returning, I mark that water line on the outside of the container. At the next lights-on check, the roots must still contact damp support. If they are drying, I improve the wick or contact area rather than refilling above the mark and flooding the stem again.
The 30-minute check is my way to catch water creeping back through the support after the obvious puddle is gone. It is not a safe exposure limit. Repeat the check after changing media or mounting height because the old mark may no longer work.
Read the lid and leaves separately
A wet lid can reflect a cold surface rather than excessive watering. Look for droplets on the leaves and water collecting around the stem before changing the reservoir.
If droplets remain on foliage through the light period, reduce unnecessary misting and gradually increase air exchange while watching for wilt.
Keep newly emersed plants out of direct sun and strong drafts. Opening the box fully can dry leaves faster than they can adjust. If a ventilation change makes leaves curl or lose firmness, return to the previous opening and reassess root contact and temperature.
Air circulation cannot drain a flooded support. Likewise, a lower reservoir does not fix a cold lid dripping onto the same leaf. Move the plant out from under that drip point and address the condensation separately.
Keep algae control away from the growing point
UConn Extension identifies moisture, light, and nutrients as the ingredients for greenhouse algae. It also notes that a dense surface crust can interfere with water entering growing media. A thin wall film is a different problem from a crust over the root support.
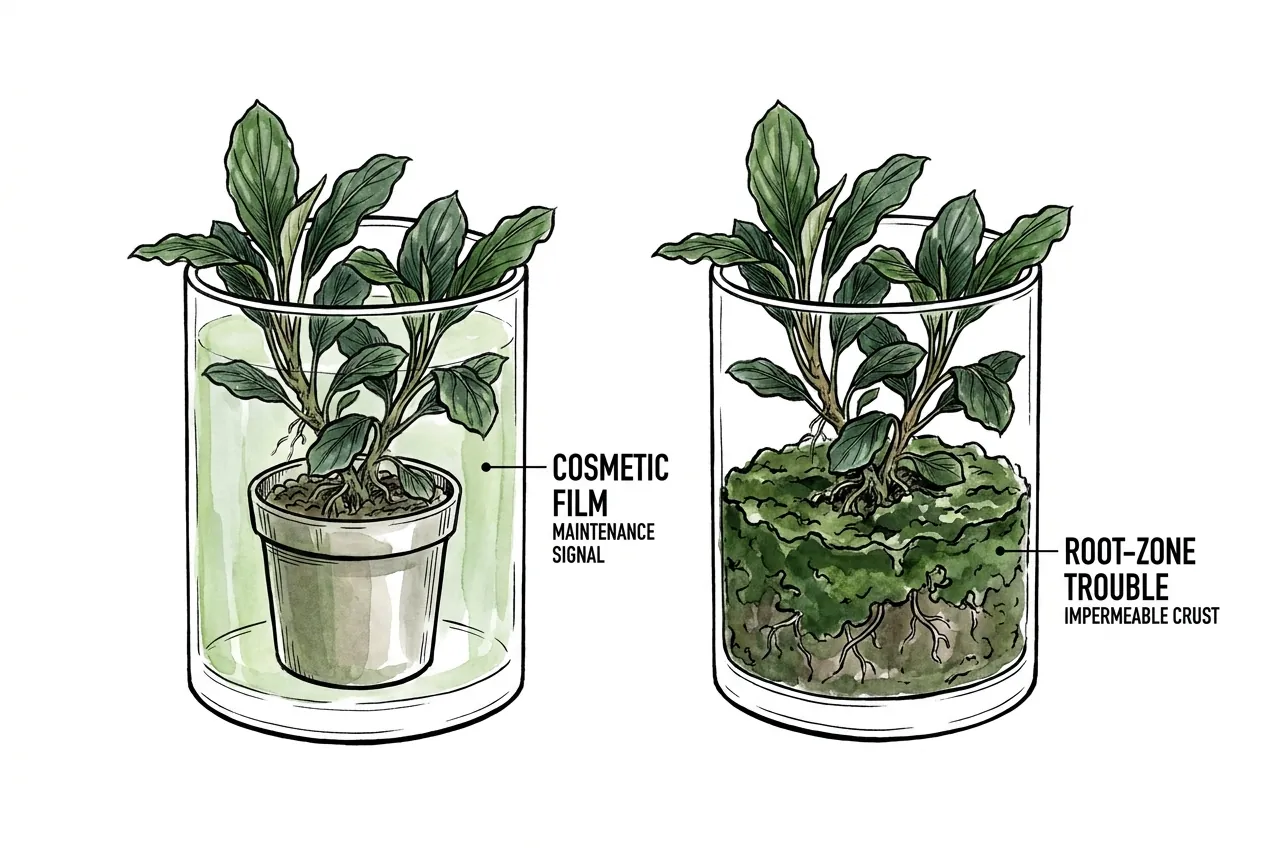
Wipe accessible container walls and remove loose dead leaves without scraping the rhizome. Avoid using an algaecide on the plant unless its label permits that plant and application. A product intended for empty benches or floors is not automatically a leaf treatment.
Systematic check with two wall windows
Before dimming the entire box, I compare two 4 × 4 cm areas on the same clear wall, at the same height below the foliage.
This works only where neither area shades a leaf or growing point. I wipe both areas clean, mark their corners outside the box, and photograph them straight on.
- Cover one area externally with an opaque removable panel, with its pale side facing the lamp. Leave the other area exposed. Keep the box out of direct sun and leave the lid, water level, feeding, and lamp schedule unchanged.
- Photograph both areas on days 7 and 14, one hour after lights-on. Remove the panel only for the photograph and replace it immediately. Use the same camera position and lighting, then overlay a 4 × 4 grid on each image.
- Count a grid cell only when visible film covers more than half of it. If the covered area has at least four fewer occupied cells on both dates, I extend the removable cover around the exposed reservoir wall while keeping foliage illuminated.
Four cells represent a quarter of the marked area. That is my deliberately coarse threshold for a visible difference, not a statistical test. Two weekly checks reduce the chance of acting on one patchy photograph. If both areas remain clean, the comparison tells me nothing yet. If their scores stay similar, I review puddling and nutrient runoff instead of automatically cutting plant light.
This checks whether shading helps wall algae in this enclosure. It does not measure root oxygen or establish the right light level for Bucephalandra. Stop the comparison if the plant deteriorates, and leave enough uncovered wall to inspect the roots and water line.
Feed active growth without feeding puddles
Use a complete fertilizer suitable for the growing method and follow its directions. Record the product and dilution so that a change can be repeated. A declining rhizome is not a reason to increase the concentration.
Keep solution off the creeping stem when practical and remove runoff that collects in unwanted pockets.
Judge a feed adjustment by subsequent new leaves and root growth, not by whether an already damaged leaf becomes green again.
When the plant needs recovery rather than an algae test
A single lost leaf does not identify the cause. An exposed growing point that retains its shape deserves stable care. A rhizome that visibly collapses, becomes water-soaked, or loses tissue needs isolation from healthy plants and separate tools.
Remove loose dead material and correct trapped water. Do not repeatedly pinch the rhizome or make exploratory cuts through apparently sound tissue. If an already detached section is decayed, discard it. Continued collapse warrants discarding affected material and cleaning the container before reuse rather than cycling through improvised dips.
Keep the water line easy to repeat and the growing point easy to see. That makes a returning puddle or spreading decay visible before a slow-growing plant loses the rest of its leaves.