
Anthurium Clarinervium Droopy Petioles: Humidity and Root Checks
Check drooping Anthurium clarinervium leaves with fixed photographs, heating-cycle humidity records, and root-zone checks before changing care.
Elena Vargas · Published 2026-09-01 · 7 min read
Key Takeaways
- Dry air can contribute to droop, but moist media does not rule out damaged or poorly aerated roots.
- Compare the same mature leaves from the same angle before calling a natural leaf position a new symptom.
- Measure temperature and humidity together during actual heating cycles.
- Recovery after humidity support shows a response, not proof that the roots are healthy.
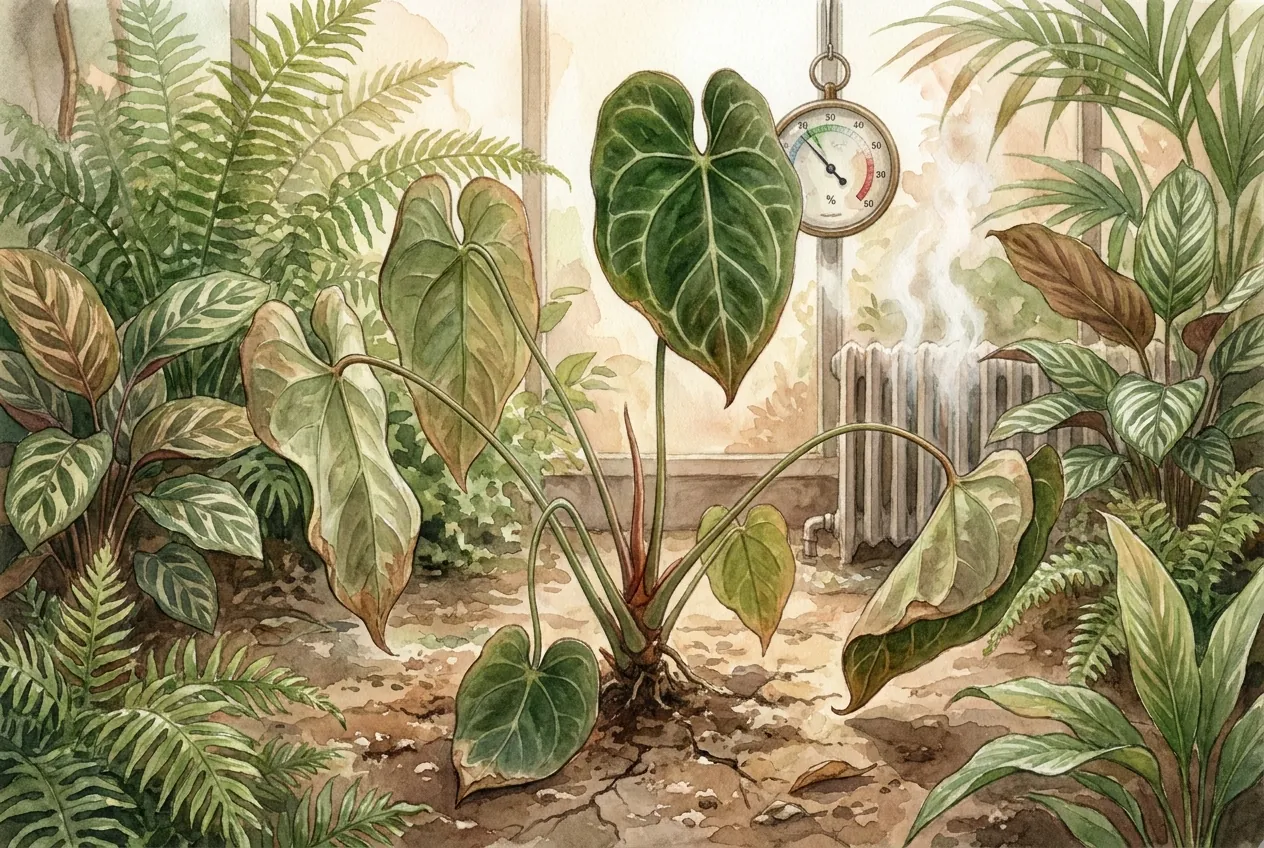
When Anthurium clarinervium starts drooping as the heating comes on, check both air demand and water supply.
Heated air can increase water loss, while cold, dry, or waterlogged roots can limit replacement. Those problems can occur together.
A moist pot does not identify the cause of a drooping petiole. The useful question is whether the leaf position changed with the room conditions, the root zone, or damage to the stalk itself.
Why the heating season changes the balance
Warming air without adding water lowers its relative humidity. Temperature and humidity together influence the drying demand around a leaf, often described using vapor pressure deficit.
The leaf's own temperature matters too, so a room reading is an approximation of its immediate conditions.
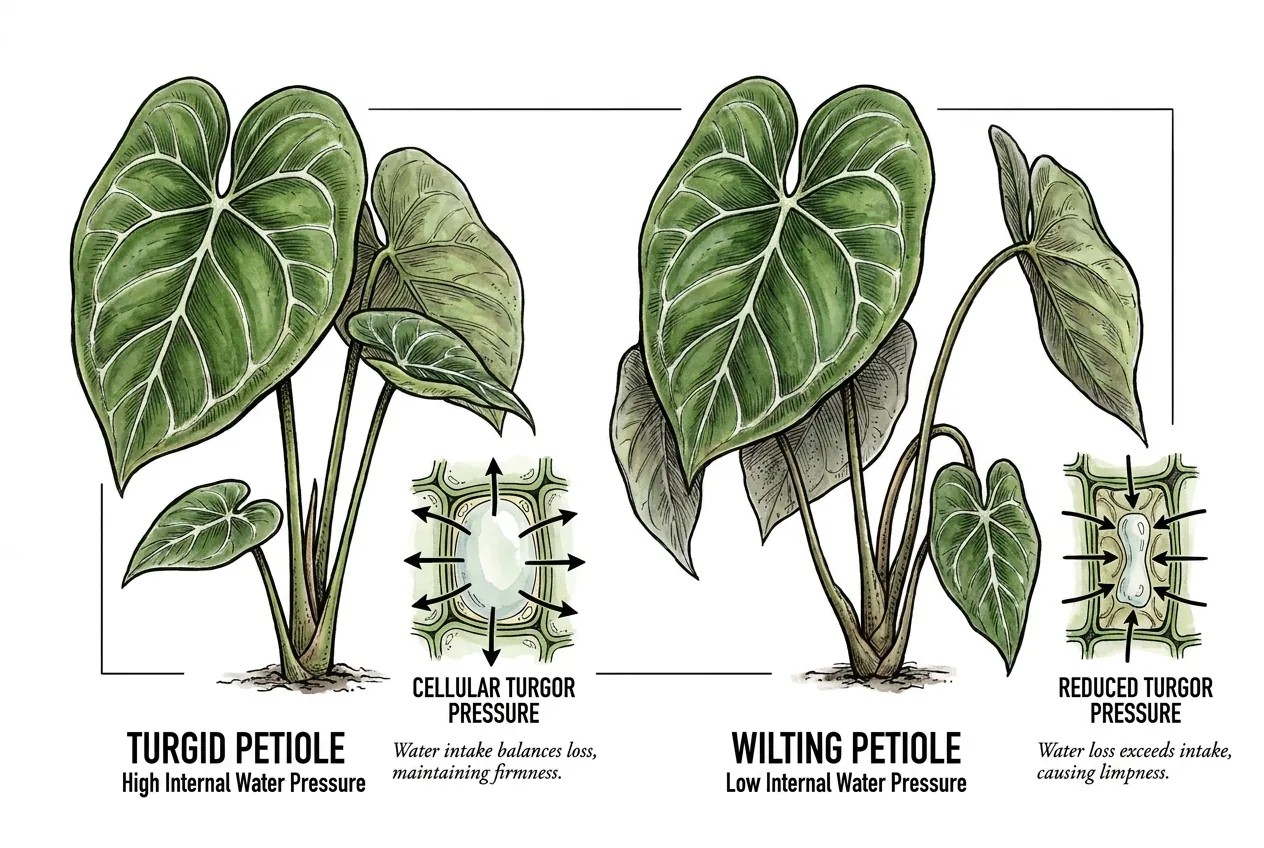
Turgor is the pressure of water inside living cells. Losing that pressure can reduce a petiole's stiffness, but its position also depends on anatomy, leaf age, orientation, and physical damage. A drooping shape alone is not a measurement of turgor.
Record the actual heating cycle rather than assuming its middle is always the driest moment. Air movement, radiator timing, sensor response, and distance from a vent can shift the minimum humidity reading.
Quick check with a fixed leaf reference
I choose two fully expanded leaves with intact petioles, avoiding a newly unfurling leaf or a stalk with a crease.
A small mark on the pot rim fixes its orientation. From a marked camera position, I photograph each leaf from the side with a vertical ruler beside the point where the petiole meets the blade.
The ruler sits beside that joint at the same distance from the camera, without touching the plant.
I record the joint's height above the pot rim, not the leaf tip, which can curl independently.
Photographing two hours after lights-on on both days keeps the daily light schedule comparable and avoids lifting the leaf with a finger.
If only a newly opening leaf hangs low, I watch its development rather than raising humidity to correct its posture.
A new kink, darkening base, or water-soaked patch ends the comparison and prompts an inspection. Two mature leaves help distinguish a whole-plant change from damage to one stalk.
Check supply before adding water or enclosing the plant
Lift the inner pot out of its cover pot and empty standing drainage water. Check moisture below the surface at an accessible pot edge and look through drainage holes or a clear pot for deteriorating roots.
A dry top layer over saturated media is not a watering signal.
| Observation | Useful next action |
|---|---|
| Light pot and dry media through the accessible root zone | Water the mix evenly and let it drain. Record that watering before comparing leaf position. |
| Wet lower media, standing water, or collapsing visible roots | Correct drainage and inspect the root system if decline continues. More humidity is not a root treatment. |
| Pot beside cold glass or directly above a radiator | Move it out of that exposure and check root-zone and air temperature separately. |
| New petiole lesion, broken stalk, or rapidly spreading dark tissue | Separate it from other plants and investigate injury or disease without waiting for a humidity trial. |
UF/IFAS describes Anthurium root diseases that cause wilting even when soil moisture is adequate. Root color alone is insufficient because age and staining vary. Soft tissue, loss of the outer root layer during ordinary handling, and continuing collapse are more concerning. Do not pull healthy roots apart to manufacture a diagnostic sign.
A leaf that lifts after humidity rises may still have a restricted root system. Lowering water loss can temporarily make supply adequate. Likewise, no visible lift after one night does not prove rot. Avoid sealing a suspect plant in a bag as a pass-or-fail test.
Systematic check across heating cycles
For a plant without active lesions or obvious root collapse, I use a three-day baseline followed by three days with one humidity adjustment.
Keep the pot orientation, lamp schedule, and room thermostat setting unchanged. If watering is needed, water normally and mark that day as a changed condition rather than withholding care to finish the comparison.
- Place a temperature and humidity logger about 5 cm beside a mature leaf at blade height, without contact. Keep it out of humidifier mist. If the plant sits in a damaging draft, move it first and begin the baseline in the safer position.
- Log at five-minute intervals through the first complete heating cycle after lights-on each day. Record when heating starts and stops. Compare the lowest humidity and highest temperature across that cycle. If the heat does not run, mark the day as unmatched rather than substituting an arbitrary reading.
- Photograph the two reference leaf joints two hours after lights-on each day. Use the same camera position and ruler. Also note pot moisture and any watering.
- My trigger for a humidifier trial is a cycle minimum below 40 percent RH on at least two baseline days. Start with sensor control at 45 to 50 percent RH. These are my operating choices within general houseplant and indoor-humidity guidance, not proven injury or optimum thresholds for A. clarinervium.
I compare the median of the three cycle minima before and after the change. A rise must exceed the combined uncertainty of both readings before I count it as a clear change.
For a device rated ±3 percentage points, I require more than 6 points. If heating never produces three comparable cycles, the comparison stays incomplete. Record any temperature or watering change alongside the result rather than attributing the whole response to humidity.
For posture, my working signal is a joint at least 5 mm higher than its baseline median on two successive photographs. The ruler and lens position must match. That deliberately visible movement is a recording threshold, not a healthy-leaf cutoff. A smaller movement stays inconclusive.
Three days keep the comparison short while reducing reliance on one heating cycle. Improvement in both leaves supports keeping the gentler conditions, but does not rule out root problems.
If humidity clearly improves and the leaves keep sinking, inspect supply and damage rather than continually increasing the humidity target. Root recovery and new growth can take longer than this check.
Stop sooner if lesions spread, the base collapses, or the pot develops persistent waterlogging. If condensation appears on windows or nearby walls, reduce room humidification instead of pushing through to the target.
Choose support by the measured result
A humidifier with a separate sensor gives a controllable moisture input. Grouping may create a small local effect, especially in a sheltered space, but confirm it at leaf height.
A pebble tray or occasional misting is not a dependable way to close a large room-wide deficit.
If a plant needs a more humid local environment, a ventilated cabinet can separate its conditions from the room.
Keep leaves from touching cold glazing and avoid persistent droplets. Do not enclose a plant with active lesions among healthy stock.
Match equipment to the measured gap using the plant cabinet humidity control kit chooser.
A higher displayed number is useful only if the plant remains hydrated, surfaces stay free of persistent condensation, and the root zone drains.
Keep the root check after the air improves
Heating does not automatically mean the plant needs more irrigation, and winter does not automatically mean it needs less.
Light, leaf area, room conditions, and pot structure all affect drying. Recheck the media and pot weight before each watering rather than retaining a summer interval or letting the entire root ball become bone dry.
The useful outcome is a stable leaf position with healthy new growth and a root zone that takes up water normally.
Keep the reference photographs so that the next heating-season change has a real baseline.